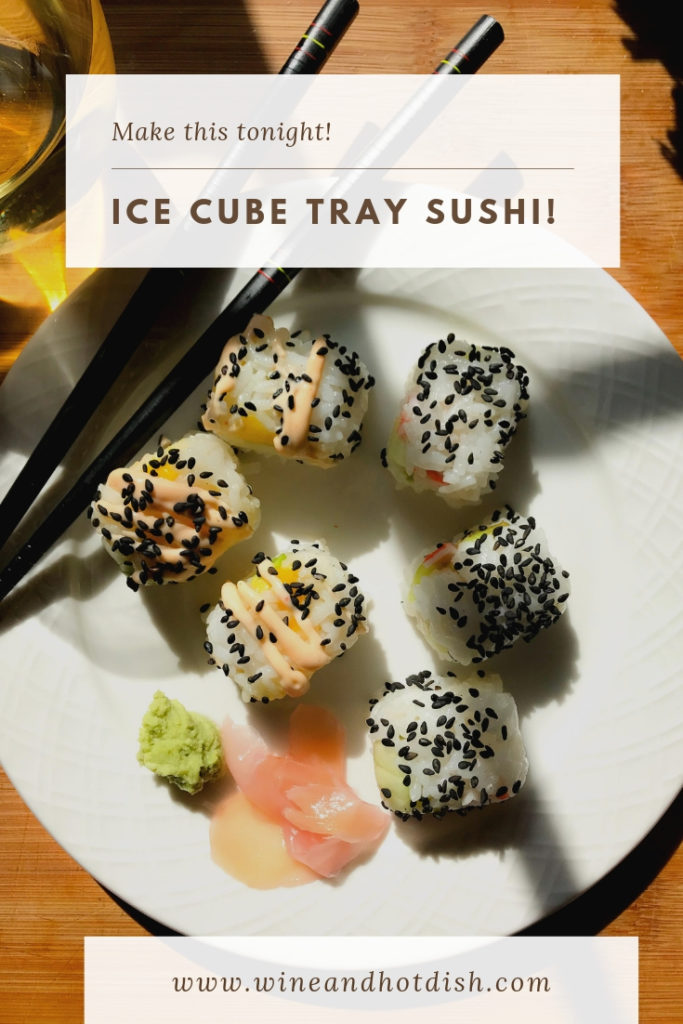
Ice Cube Tray Sushi just might be one of the most fun new things you can make for dinner this summer, or any time of year for that matter! We started making this and the whole family loves it because we can be in charge of what goes in it! We have done fried chicken/cucumber/spicy mayo, crab/avocado/cucumber, mango/avocado/spicy mayo, and smoked salmon/cream cheese/jalapeno. Spicy mayo is always a hit and can be made with mayonnaise (or vegannaise) and sriracha sauce. One this is for sure, my kids are not quite fans of wasabi yet!
I make my rice in my pressure cooker and it couldn’t be easier. Once it’s done cooking, I season the rice with a blend of rice vinegar, sugar, and salt. It might seem like a lot of vinegar when you are pouring it in (or smelling it as you fluff the rice), but trust me. It mellows out. In order to cool the rice, I lay it out on a wood cutting board and spread it to it is only about 1/2 inch to 1 inch thick. I purchased my ice cube trays on Amazon here. They make the perfect bite-sized pieces! They also are part silicone, so you can easily help “pop” the sushi out of the tray if any of them were to get a little sticky. One thing I have noted with this type of sushi, is that if you put in too much filling, it doesn’t work quite as well with chopsticks. It does, however, work 100% of the time with your fingers! Here is a link to the trays that I use!
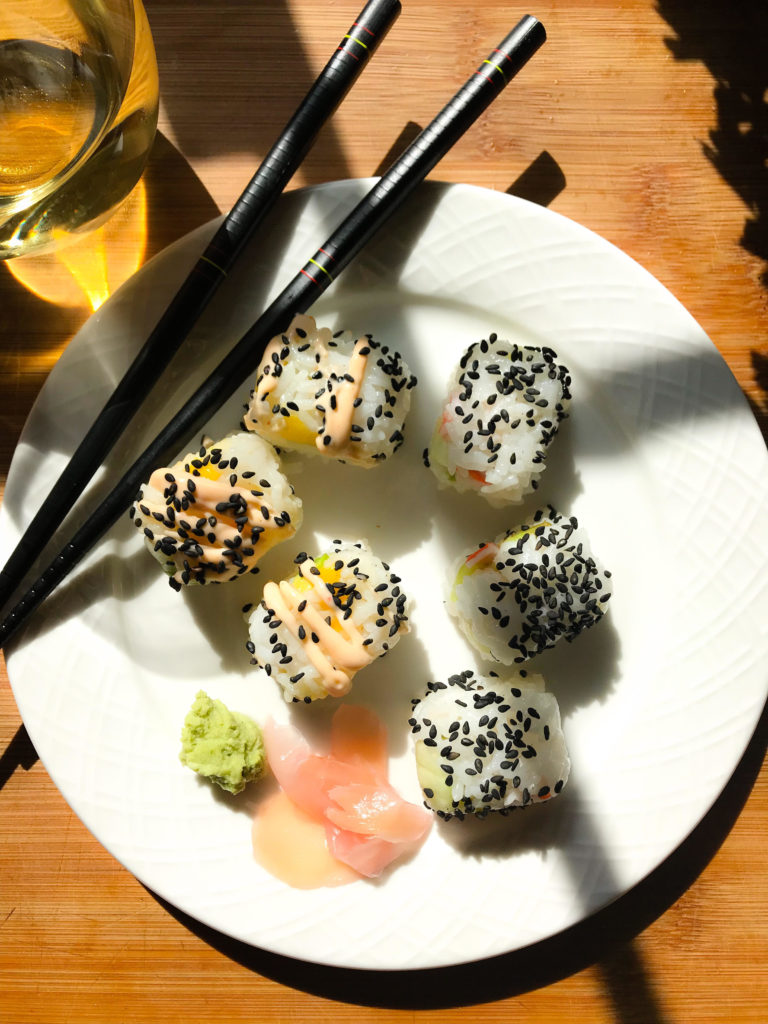
Ice Cube Tray Sushi
2 cups sushi rice
2 cups water
6 tablespoons rice vinegar
2 tablespoons granulated sugar
1 1/2 teaspoon kosher salt
Ice cube trays, very lightly oiled (I use a paper towel to apply a very small amount of oil)
Sushi Fillings
Sushi Toppings (black sesame seeds, spicy mayo, buttered and toasted panko bread crumbs)
Pickled Ginger & Wasabi
Directions:
For the rice:
Using a colander, rinse the rice using cold water for 2 minutes. Let dry for a few minutes in the colander. Place the rice in your pressure cooker and add 2 cups of water. Stir. Use your pressure cookers setting for rice. (low pressure for 12 minutes) While the rice is cooking, whisk together rice vinegar, sugar and salt. When the rice has finished cooking, let the pressure naturally release for 10 minutes. Switch the top to quick release to let any remaining pressure out. Remove the lid and pour the vinegar mixture over the top of the rice. Fluff with a fork and turn out onto a wood cutting board and gently spread until it is about 1/2 inch to 1 inch thick. (do this gently so you don’t smash the rice. When the rice is room temperature, you can start making sushi.
For the sushi:
Place about 1 teaspoon of rice into each cavity of an ice cube tray, or enough to cover the bottom if using a larger sized cube tray. Add sushi fillings, about 1-2 teaspoons worth. pack with more sushi rice until firm. I find that it works best to place enough rice on top of the cubes so that it forms a mound over the top, wet fingers with a small amount of water, and then firmly press the rice into the cube. (You will want to make sure you apply a good amount of pressure because this will help the rice granules on the bottom of the sushi cubes to adhere to the final layer of rice) Once you have cleaned up the edges on of the cubes, invert the tray onto your serving platter and top with desired toppings. I like to you black sesame seeds, spicy mayo, or buttered and toasted panko bread crumbs.
Spicy mayo is always a hit and can be made with mayonnaise (or veganaise) and sriracha sauce.
For more recipes visit wineandhotdish.com!